

Best Steel Purlin Choices for Sturdy and Efficient Building Frames
2026-10-28
When it comes to framing a building that won't buckle under pressure or drain your budget, the steel purlin you choose can make or break the entire structure. Most guides stop at generic specs, but your project deserves better than guesswork. From load-bearing nuances to corrosion resistance in harsh climates, the right purlin does more than hold up a roof—it quietly defines how long your frame stays true. In this guide, we cut through the noise with actual field-tested options, including why builders increasingly turn to LANYUN for purlins that balance strength and cost without the usual compromises. Whether you're spanning a warehouse or a workshop, what you're about to read could change how you spec your next frame.
What Makes a Steel Purlin Actually Hold Up Over Time
Steel purlins don't survive decades by accident. The real backbone is the zinc coating—often G90 or G60 galvanizing—that sacrifices itself to corrosion before the base metal ever sees moisture. But that only works if the coating stays intact at every cut edge and punched hole, which is why field touch-up isn't optional. Skip that step, and rust starts at the exact stress points where the purlin carries the most load.
Then there's the shape itself. A C or Z profile isn't just convenient for bolting—the lips and flanges create local stiffening that resists twisting under wind uplift. The subtle difference is in the return lip length and bend radius. Too sharp a bend creates micro-cracks at the corner; too shallow and the lip can flatten out under repeated load cycles. That's why reputable fabricators hold tight tolerances on the cold-forming process, not just the final dimensions.
Finally, the fastening pattern does more than hold things together. Oversized or slotted holes allow just enough micro-movement to prevent fatigue cracks, while still transferring shear through the bolt friction. When purlins are welded rigidly instead, thermal expansion and live loads concentrate stress at the weld toe—and that's exactly where you'll find the first fatigue failure years later. A properly bolted purlin system flexes a bit, and that flexibility is what keeps it from tearing itself apart.
Z-Sections, C-Sections, and the Overlap Question
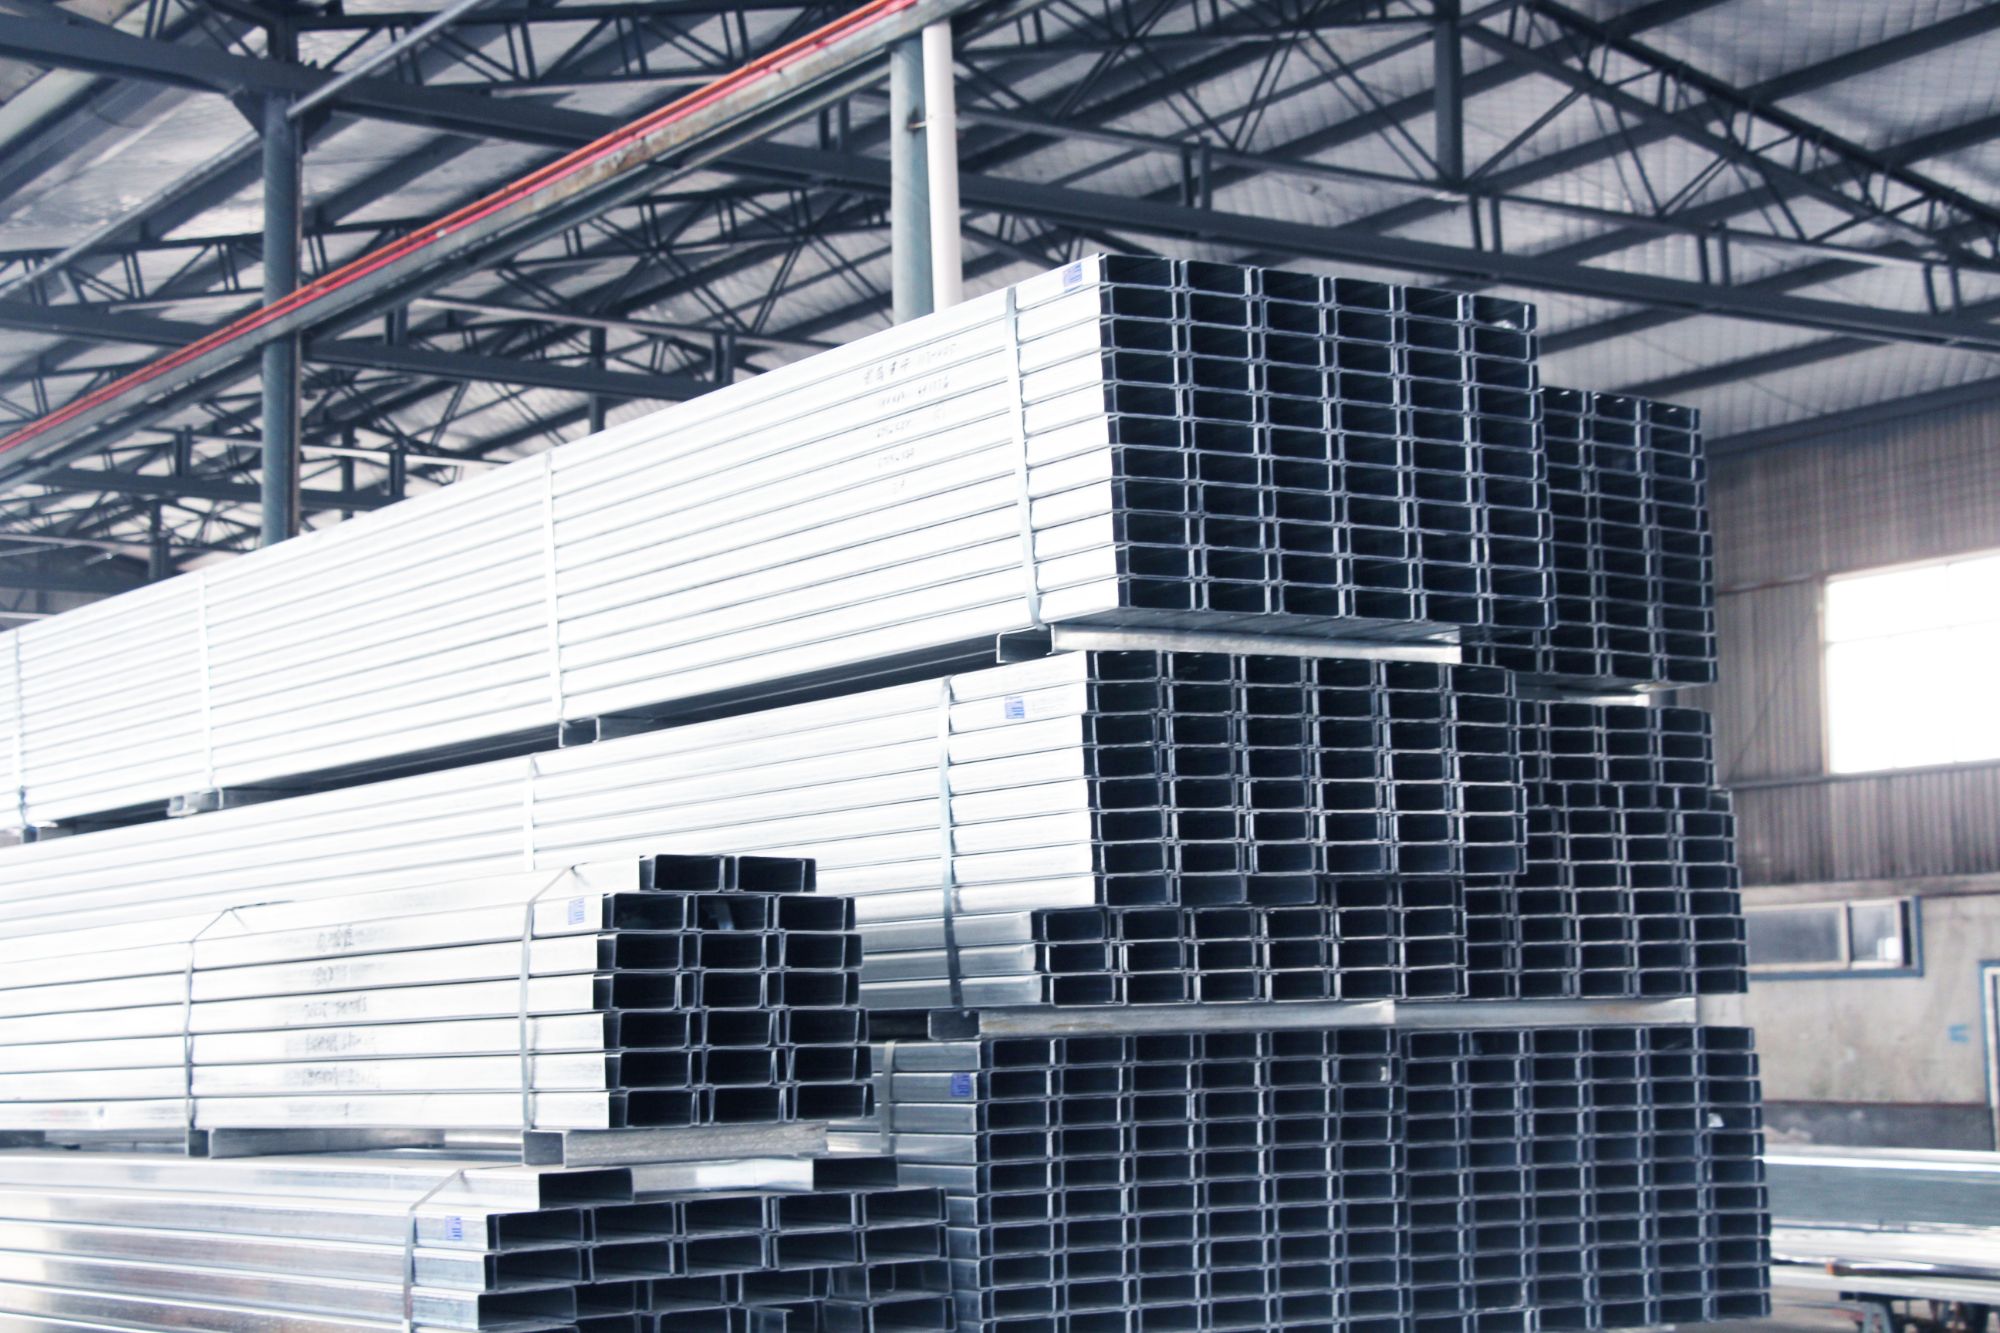
In structural steel design, the choice between Z-sections and C-sections often comes down to how they handle overlap in built-up members. Z-shaped purlins can nest together at the lap, which makes them efficient for continuous spans where overlapping boosts stiffness and load distribution. C-sections, by contrast, have a flat web that allows for bolting back-to-back, but they don't interlock the way Zeds do. This difference shapes how engineers address the overlap question when detailing roof and wall systems.
The overlap question isn't just about geometry—it's about behavior under load. Z-sections rely on the lap to transfer shear and moment across the joint, meaning the lap length and fastener pattern become critical design variables. Too short an overlap and the connection loses its continuity; too long and material is wasted. With C-sections, overlapping is rarely used for primary load transfer because the open side doesn't provide a clean nesting surface. Instead, C-sections are often used as simple spans or in telescoping arrangements where sliding is needed for thermal movement.
Practical detailing also brings up the question of how much overlap is enough. For Z-sections, a common rule of thumb is to lap 10-15% of the span length, but this varies with load magnitude and section depth. Fastener spacing within the overlap zone needs to follow the manufacturer's test data, since the local buckling and bearing failure modes differ from those of a single section. C-sections may use a slotted overlap for expansion joints, but that introduces its own set of tolerance and sealing concerns. Ultimately, the overlap question drives both the economy and the safety of the framing system.
Coating Choices That Keep Corrosion From Cutting Corners
A coating can only protect what it can reach, and corners are where trouble hides. Sharp edges, weld seams, and inside angles pull coating away as it cures, leaving a thin skin that fails long before the flat surfaces around it. The real choice isn't just between epoxy or polyurethane—it's whether the product you pick has the flow and wetting characteristics to build thickness where geometry works against you. Edge-retentive formulations, often based on high-solids epoxies or surface-tolerant polyurethanes, stay put instead of shrinking back from the corner. That difference shows up in salt spray tests and on real structures where rust creeps out from a bolted connection nobody thought to stripe coat.
Multiple thin passes beat one thick coat every time near a corner. Brushing a stripe coat onto welds and edges before the full spray application forces material into the crevice and gives the main coat something to grip. For galvanized or stainless fasteners, a zinc-rich primer with a high pigment volume concentration can sacrifice itself before the substrate does, but only if it isn't starved at the edge. Some contractors now use airless spray tips with a narrower fan and lower pressure for the first pass around corners—slower, but the film thickness gauge tells the truth: corners end up within spec instead of half the required dry film thickness.
Accelerated weathering tests love smooth panels, but real corrosion starts at the corner. Ask for adhesion data on a 90-degree bend, not just a flat coupon. Look for coatings that mention edge coverage or complex geometry in their technical data sheet; if they don't, assume the worst. A two-coat system with an edge-retentive primer and a flexible topcoat often outperforms a single high-build product that cures brittle and cracks at the sharp radius. The extra labor for stripe coating is cheap compared to cutting out a corroded corner in five years. Choose the coating that doesn't cut corners—literally.
Span Tables Don't Lie: Matching Purlin Size to Real Loads
A purlin that looks sturdy on the truck can turn into a sagging headache after the first wet snow. Span tables exist because guessing doesn't end well. The numbers in those charts aren't pulled from thin air; they're derived from deflection limits and bending stress tests on actual lumber or steel sections. If a table says a 2x8 spanning 14 feet will hold a 20 psf live load, that's not a suggestion. It's the line between a roof that stays flat and one that slowly develops a belly.
The catch is that real loads rarely match the generic assumptions printed in a single table. Dead load from tile or metal roofing, drift snow piled against a parapet, wind uplift pulling upward on the fasteners, even the occasional person crawling across the roof to fix a vent—all of that stacks up fast. A builder who grabs a span table for a light asphalt shingle roof and then swaps in heavy clay tile without recalculating is asking for trouble. The table hasn't lied; the person using it just changed the question.
Matching purlin size to actual load means starting with the total weight per square foot the roof must carry, not the weight you hope it will carry. Then check the span table for that exact combination of load, spacing, and material grade. Watch the fine print too: some tables assume continuous spans over three or more supports, others assume simple spans that deflect more. If your roof has a valley, a heavy HVAC unit, or a long-term snow region, bump the load higher than the minimum. Span tables are honest tools. You just have to feed them the truth.
Why Cheaper Steel Purlins Can Cost More in the Long Run
The upfront savings from budget purlins are often erased the moment they arrive on site. Lower-priced sections tend to have thinner zinc coatings or more variable gauge thickness, even when the mill certificate says otherwise. That inconsistency shows up during installation: holes don’t line up, flanges sit slightly out of square, and crews end up forcing connections. What goes up fast can become a slow, expensive correction later.
Corrosion is where the real cost hides. Standard galvanized purlins are designed for a specific coating weight, but cheaper options frequently shave that coating to hit a price point. In humid, coastal, or industrial environments, red rust can appear within a few years instead of a few decades. Replacing a corroded purlin under a finished roof means pulling off cladding, insulation, and sometimes electrical runs—far more labor and downtime than the original material savings.
Load performance is another quiet risk. Cheaper steel may have lower actual yield strength, more mill scale, or inconsistent web dimensions. Under snow, wind, or even normal equipment loads, that can translate into excessive deflection, loose fasteners, and warped roof sheets. The call-backs, temporary shoring, and shortened service life quickly outweigh the few dollars saved per meter at purchase.
Installation Mistakes That Undermine Even the Best Purlin Design
Even the most carefully calculated purlin profile can underperform once it meets the realities of a job site. A frequent problem is bolt torque. Crews often run impact wrenches until the nuts feel tight enough, but that feeling rarely matches the specified preload. Under-torqued connections allow slip at the splice, which changes the bending moment distribution and can push deflection well past the intended limit. Over-torquing, on the other hand, can crush the zinc coating or gall the threads, creating a weak point that invites corrosion.
Another avoidable failure is misplacing or removing the bridging and sag rods shown on the erection drawings. These small components are not optional extras; they brace the purlin's weak axis against lateral torsional buckling. When a duct or sprinkler line runs through the same space, someone may shift a row of bridging or leave it out entirely. Under wind uplift or wet concrete loading during construction, the unbraced purlin can twist and permanently deform before the roof system is even complete.
Thermal movement is also routinely ignored. Long runs of purlins need slotted holes or sliding connections at one end to accommodate expansion and contraction. If every bolt is wrenched down solid, temperature swings force the steel to relieve stress somewhere, often at the weakest bracket or weld. Worse, temporary bracing is sometimes stripped out before the roof diaphragm is fully secured, letting the purlins creep sideways or sag under their own weight. These installation habits can defeat a well-engineered purlin just as thoroughly as a design error.
FAQ
C and Z sections dominate, but Z purlins can be lapped continuously over supports, which helps reduce deflection in longer bays. For heavier loads, some builders switch to hat sections or built-up members.
Galvanized coatings provide more consistent corrosion protection, especially in humid or coastal environments. Red-oxide primer is cheaper upfront but needs regular maintenance and repainting. If the frame will be exposed to weather before cladding, galvanized is the safer bet.
Both matter. Thicker steel raises load capacity, but if spacing is too wide, even a heavy purlin can allow roof panels to sag. A balanced approach—moderate gauge with tighter spacing—often gives a stiffer diaphragm and fewer long-term service issues.
Yes, in highly corrosive environments like chemical plants or salt-heavy coastal zones, unprotected cold-formed sections may corrode faster than expected. In those cases, hot-dip galvanizing with heavier coating weights or even stainless steel may be justified.
Using anti-sag rods or bridging at mid-span, plus bolted cleats that engage both flanges, reduces rotation. For standing seam roofs, floating clips help accommodate thermal movement without loosening the connection.
It's possible but usually not worth the complexity. Mixing C and Z sections can create inconsistent lap behavior and complicate bracing. If changes are needed, keep transitions at braced lines and verify that all components share compatible hole patterns.
Check whether the published capacities assume fully braced flanges or include the effect of standing seam clip flexibility. Also confirm whether values are for simple spans or continuous laps. Small differences in assumptions can lead to large differences in actual performance.
Conclusion
Choosing the right steel purlin isn't just about picking a profile off a shelf—it's about understanding how the material behaves under years of wind, rain, and structural load. A purlin that truly holds up over time starts with the steel's base thickness and the coating system. Galvanized coatings, especially those with heavier zinc weights or specialized alloys like zinc-aluminum, prevent rust from creeping in at cut edges and bolt holes. But corrosion protection is only half the story. Whether you choose a Z-section or a C-section depends heavily on how the laps are engineered. Z-sections, when overlapped at supports, create a continuous beam effect that boosts load capacity and stiffness, while C-sections are often simpler for straightforward spans. Yet no profile choice matters if you ignore the span tables. Those tables aren't suggestions—they map purlin gauge and depth to actual snow, wind, and dead loads. Skipping that step leads to undersized members that deflect or fail prematurely.
The cheapest purlin on the quote often becomes the most expensive once it's in the building. Thin gauge steel with a light coating might survive the first season, but replacement costs, downtime, and potential roof damage quickly erase any upfront savings. Equally damaging are installation mistakes that undermine even the most robust design: over-tightening bolts which crack the coating, mismatched lap lengths that create weak points, or missing bridging that allows lateral buckling. A sturdy, efficient building frame demands that the purlin system is treated as an integrated whole—material quality, section geometry, coating durability, load matching, and careful erection all working together. When those elements align, the roof and wall framing perform quietly for decades, resisting corrosion and deflection without demanding constant attention.
Contact Us
Contact Person: Nia
Email: [email protected]
Tel/WhatsApp: +86 18954360337
Website: https://www.sdppgi.com